How to install Lifter Elements
In this article:
Installing Lifter Elements
To install Lifter Elements, you'll want to make sure that you have the required plugins installed first.
- First, you'll need to download Lifter Elements from your Tangible Account. Login, browse to Downloads and click Download Now.

- Next, you'll want to login to your WordPress Admin dashboard to begin installing the plugin. Once you're logged in, navigate to Plugins > Add New.

Click on the button labeled Upload Plugin, then Choose file.
- Open, then Install. When it's done installing you can click on Activate Plugin to activate Lifter Elements.

- That's it! Lifter Elements is now installed and you can start using it right away. The settings can be found under Settings > Lifter Elements.

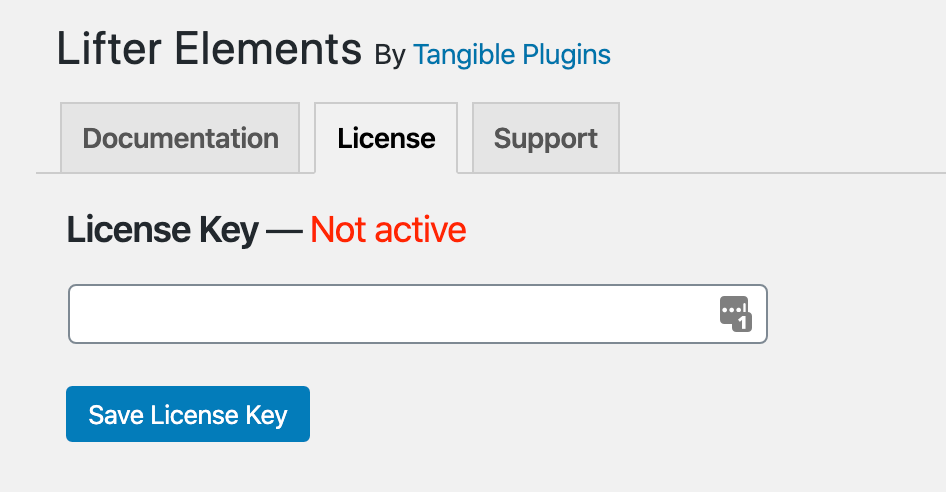
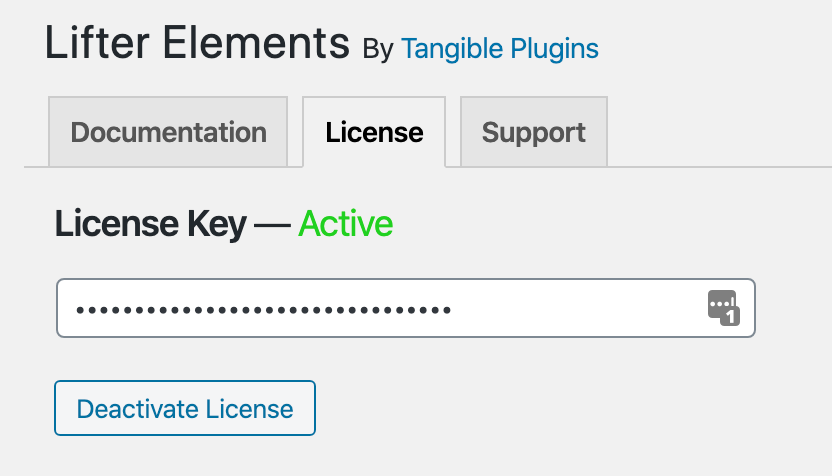
License Activation
After you've finished installing Lifter Elements you will want to add your license key to activate the plugin.
Login to your Tangible account and click on License Keys. Copy your license and go to the Lifter Elements settings in the WordPress dashboard mentioned in the previous step.
Click on the License tab, paste your license key, and click Save License Key. After you activate it successfully you will see Active turn green.